When building your family tree, including photos is one of the best ways to make it come to life. Photos provide a personal touch and help connect you to your ancestors. In this blog post, we’ll explain how to include photos in your family tree and the best ways to organize them. With the right approach, your family tree can become a vivid and meaningful history of your family’s legacy.
Why You Should Include Photos in Your Family Tree
Including photos in your family tree is important because it adds depth and emotion to the information. When you see a picture of an ancestor, it feels more personal than just reading a name and birth date. How to include photos in your family tree is a simple but powerful way to engage future generations. These images can help bring stories to life and preserve memories for years to come.
1. Start by Gathering Photos
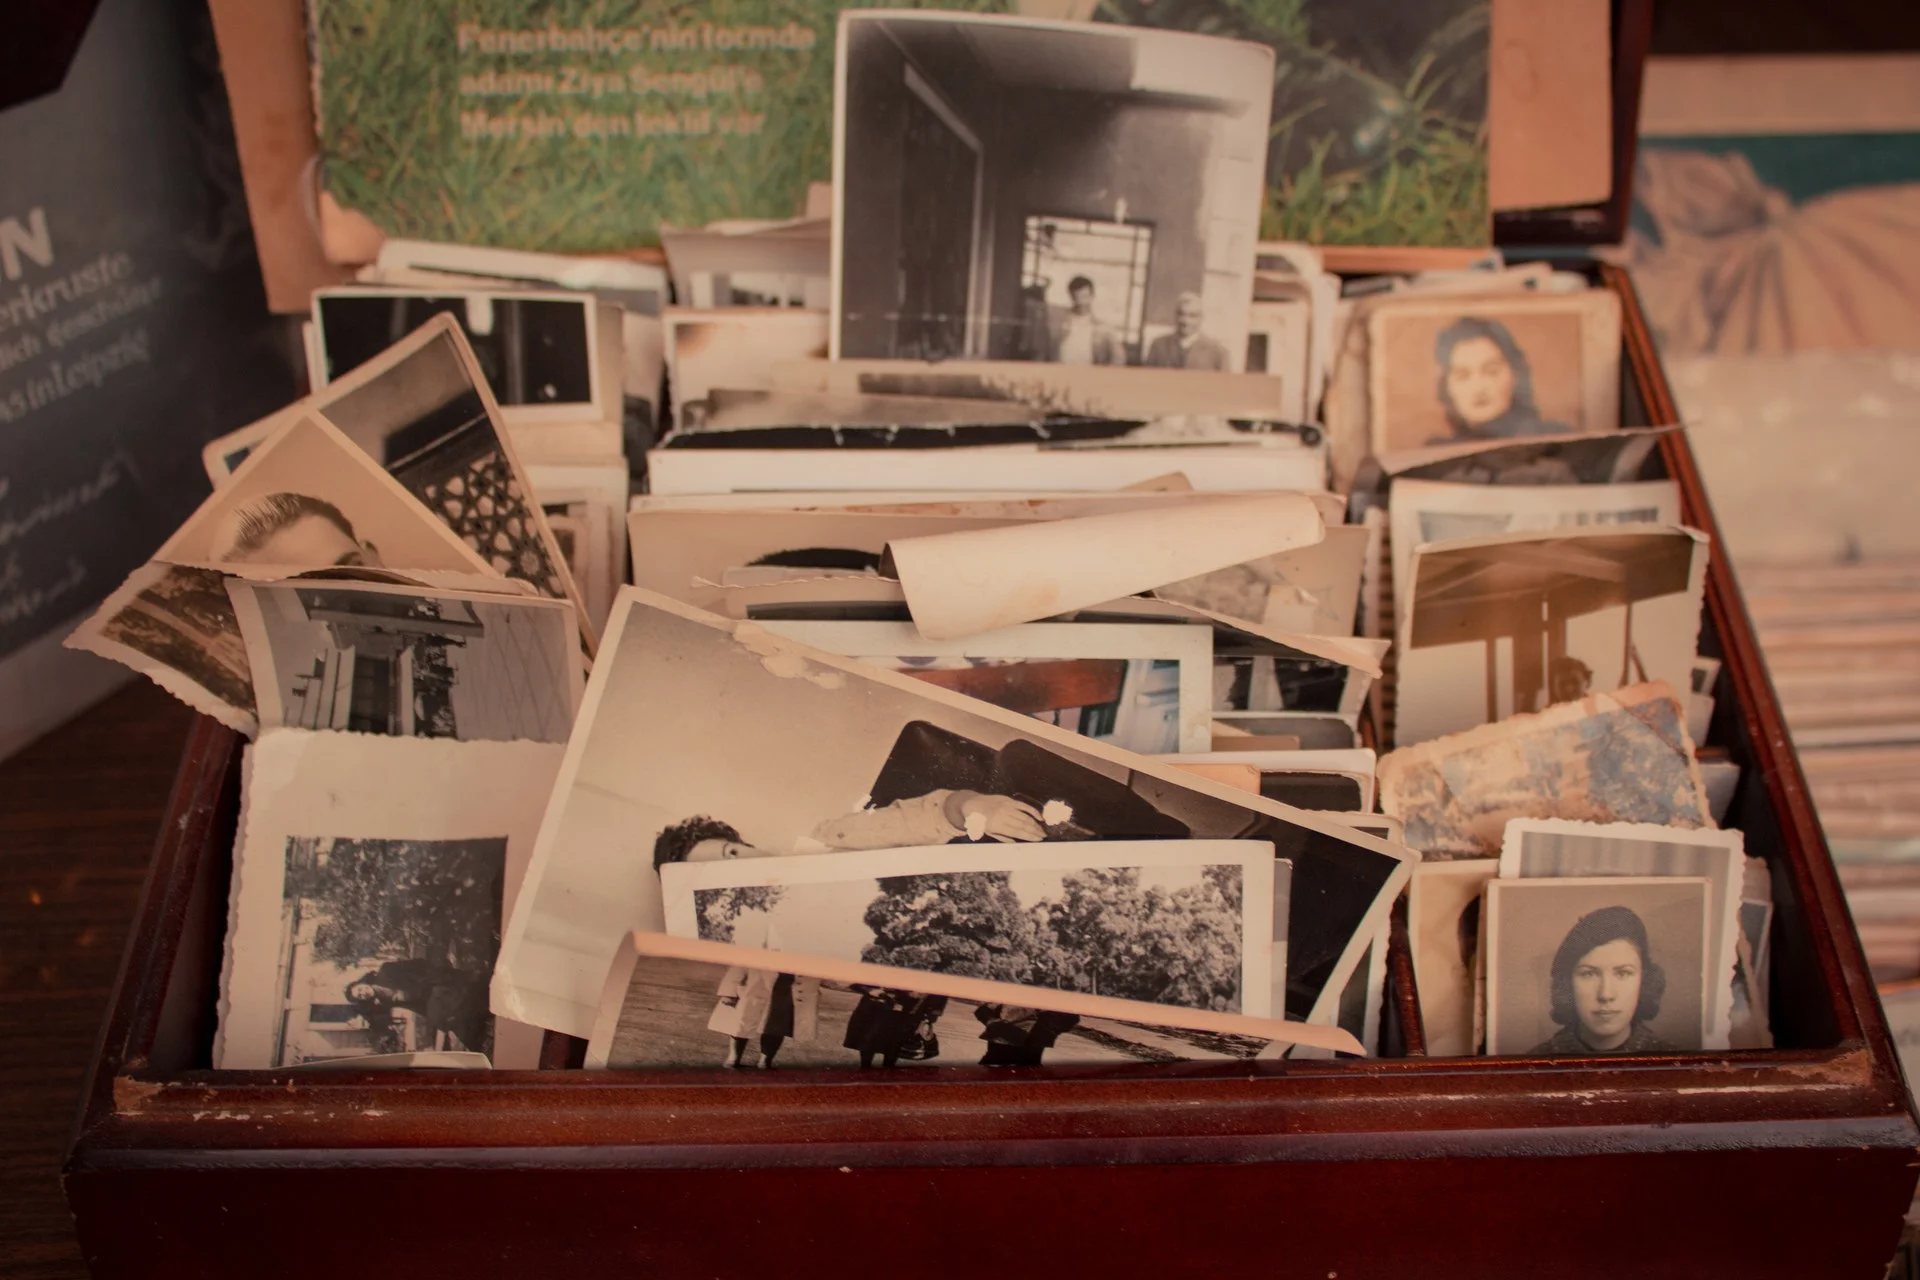
The first step in how to include photos in your family tree is to gather as many family photos as possible. Start by looking through old family albums or contacting relatives who might have images of your ancestors. It’s helpful to ask family members for stories or descriptions of the photos so you can add context. The more details you collect, the more meaningful each photo will be when you add it to your tree.

2. Organize Your Photos Before Adding Them
Once you’ve gathered your photos, it’s essential to organize them. This is one of the key steps in how to include photos in your family tree effectively. Organizing your photos by family branches, periods, or specific events can help you keep track of everything. You can also label each photo with names, dates, and other relevant information to ensure that you know who is in each picture. Using digital folders on your computer or an online photo album can help keep everything neat and accessible.
3. Use Family Tree Software or Websites
One of the easiest ways to add photos to your family tree is by using family tree software or websites. Many online platforms, like Ancestry.com or FamilySearch, allow you to upload and organize photos within your tree. These tools make it simple to attach photos to specific individuals and places them directly in your tree. This is a great option when you want to digitally organize your tree and include high-quality images.
In addition, these platforms often allow you to add captions or descriptions to the photos. This gives you a chance to explain the context or share family stories that go along with each image, making it even more personal and informative. How to include photos in your family tree using these tools can help preserve your memories for future generations.
4. Scan and Digitize Physical Photos
If your family photos are in physical form, you’ll need to scan them into a digital format before adding them to your family tree. Scanning is the best way to preserve old photos and ensure that they don’t deteriorate over time. Once the photos are digitized, you can upload them to your family tree software or website. Scanning photos is also an easy way to share them with family members and give them digital copies. By following this step, you’ll be able to preserve the images and include them in your family tree.
5. Add Photos to Physical Family Trees
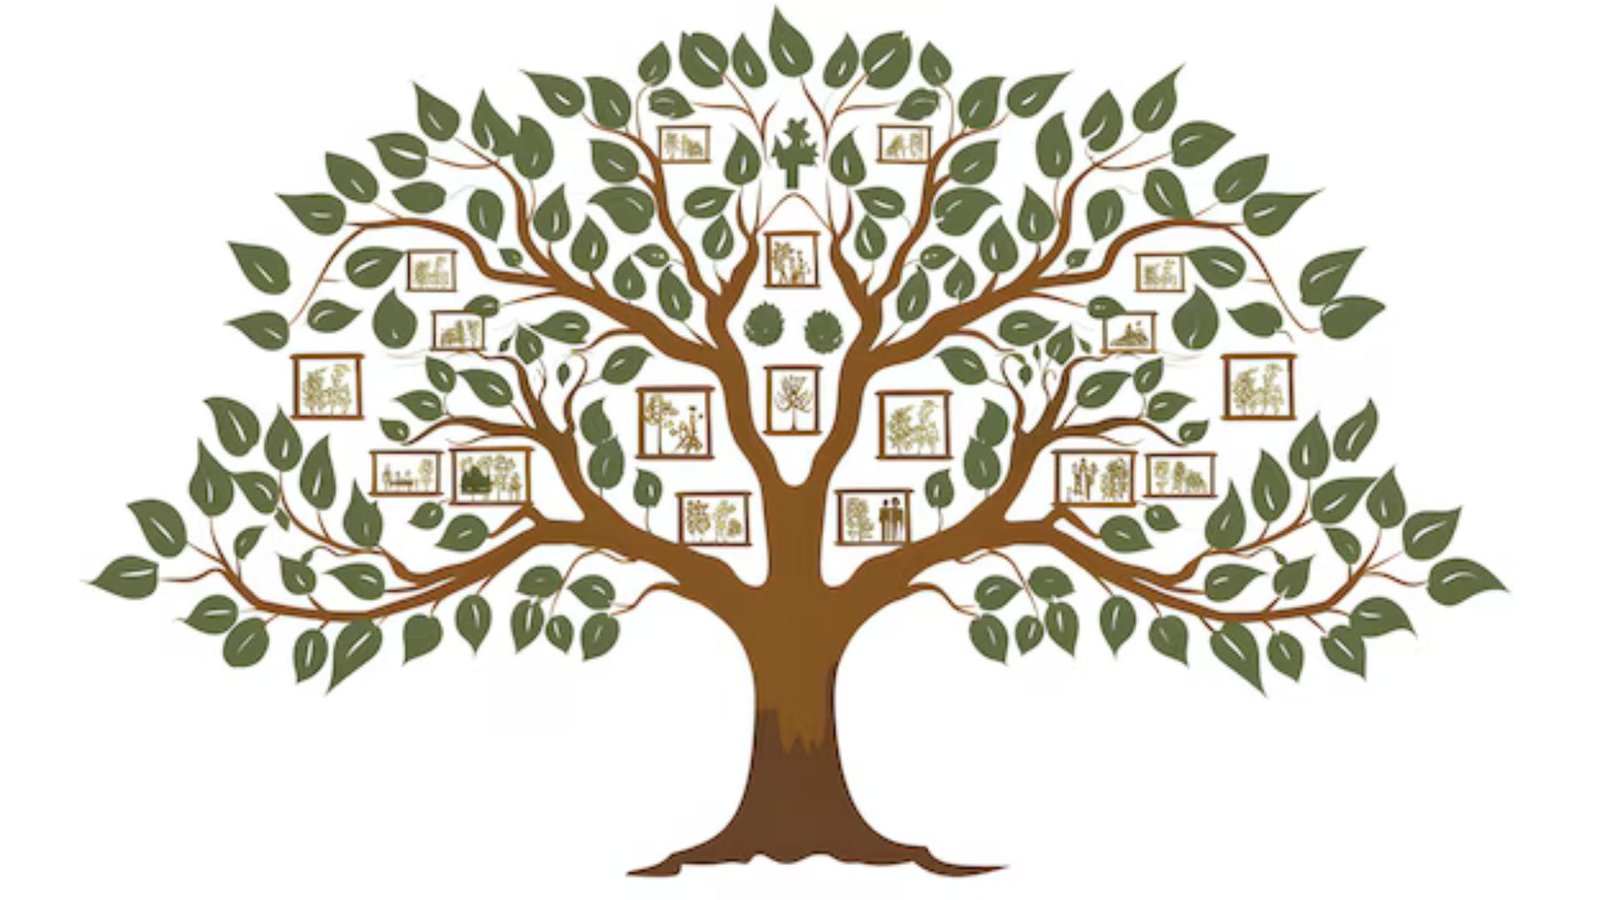
If you prefer to create a physical family tree, you can still include photos. Print your photos in small sizes, or use photo corners to attach them to a printed family tree chart. Many genealogy kits include templates that make it easy to create a physical family tree, and some even allow you to add photos directly to the chart. You can create a family tree on a large poster or in a scrapbook. How to include photos in your family tree when creating a physical copy is a great way to share it with relatives in person.
6. Label Your Photos with Details
When adding photos to your family tree, it’s important to label them with names, dates, and other relevant details. This helps future generations understand the context of the photo. Include names of people in the photo, the date it was taken, and any other helpful information. For example, you might note where the photo was taken or a special event that occurred. By doing this, you ensure that the images are meaningful and connected to the family history, which is an essential part of how to include photos in your family tree.
7. Share Your Family Tree with Photos
After you’ve successfully added photos to your family tree, it’s time to share your work with others. Sharing your tree with photos can be an exciting way to connect with family members. You can share it digitally through email or family history websites. Alternatively, you can print copies of your family tree and distribute them at family reunions or special events. The how to include photos in your family tree process becomes even more rewarding when you share it with loved ones.
Conclusion
Including photos in your family tree is a wonderful way to connect with your ancestors and preserve memories for future generations. By gathering, organizing, and digitizing your family photos, you can add a personal touch to your family tree. Whether you choose to use family tree software or create a physical tree, the important thing is to make sure the photos are properly labeled and included. The how to include photos in your family tree process will help bring your family’s history to life, making it more meaningful and engaging for everyone who sees it.


